My 2021 nail art 💅
Estimated reading time: 5 mins
As 2021 comes to an end today, it’s important to take time to celebrate our wins and achievements throughout the year. I’m going to show you some of my nail designs that I’m most proud of.
You might wonder why bother putting effort into nails? They chip, break and they’re just nails. My answer is that I look at my hands all the live long day, so I want to look at a well presented manicure.
After all, isn’t it human nature to love things that aren’t fated to last? Youth, beauty, flowers… NFTs and Web3 😆 Also, it’s my blog and I’ll put nails on it if I want to 💅
NOTE: Due to the many dangers of improper gel use, all my nail art is done with regular, wet polish on top of my natural nails. The techniques I describe here apply to this type of polish.
Let me take you on my epic journey in nail art!
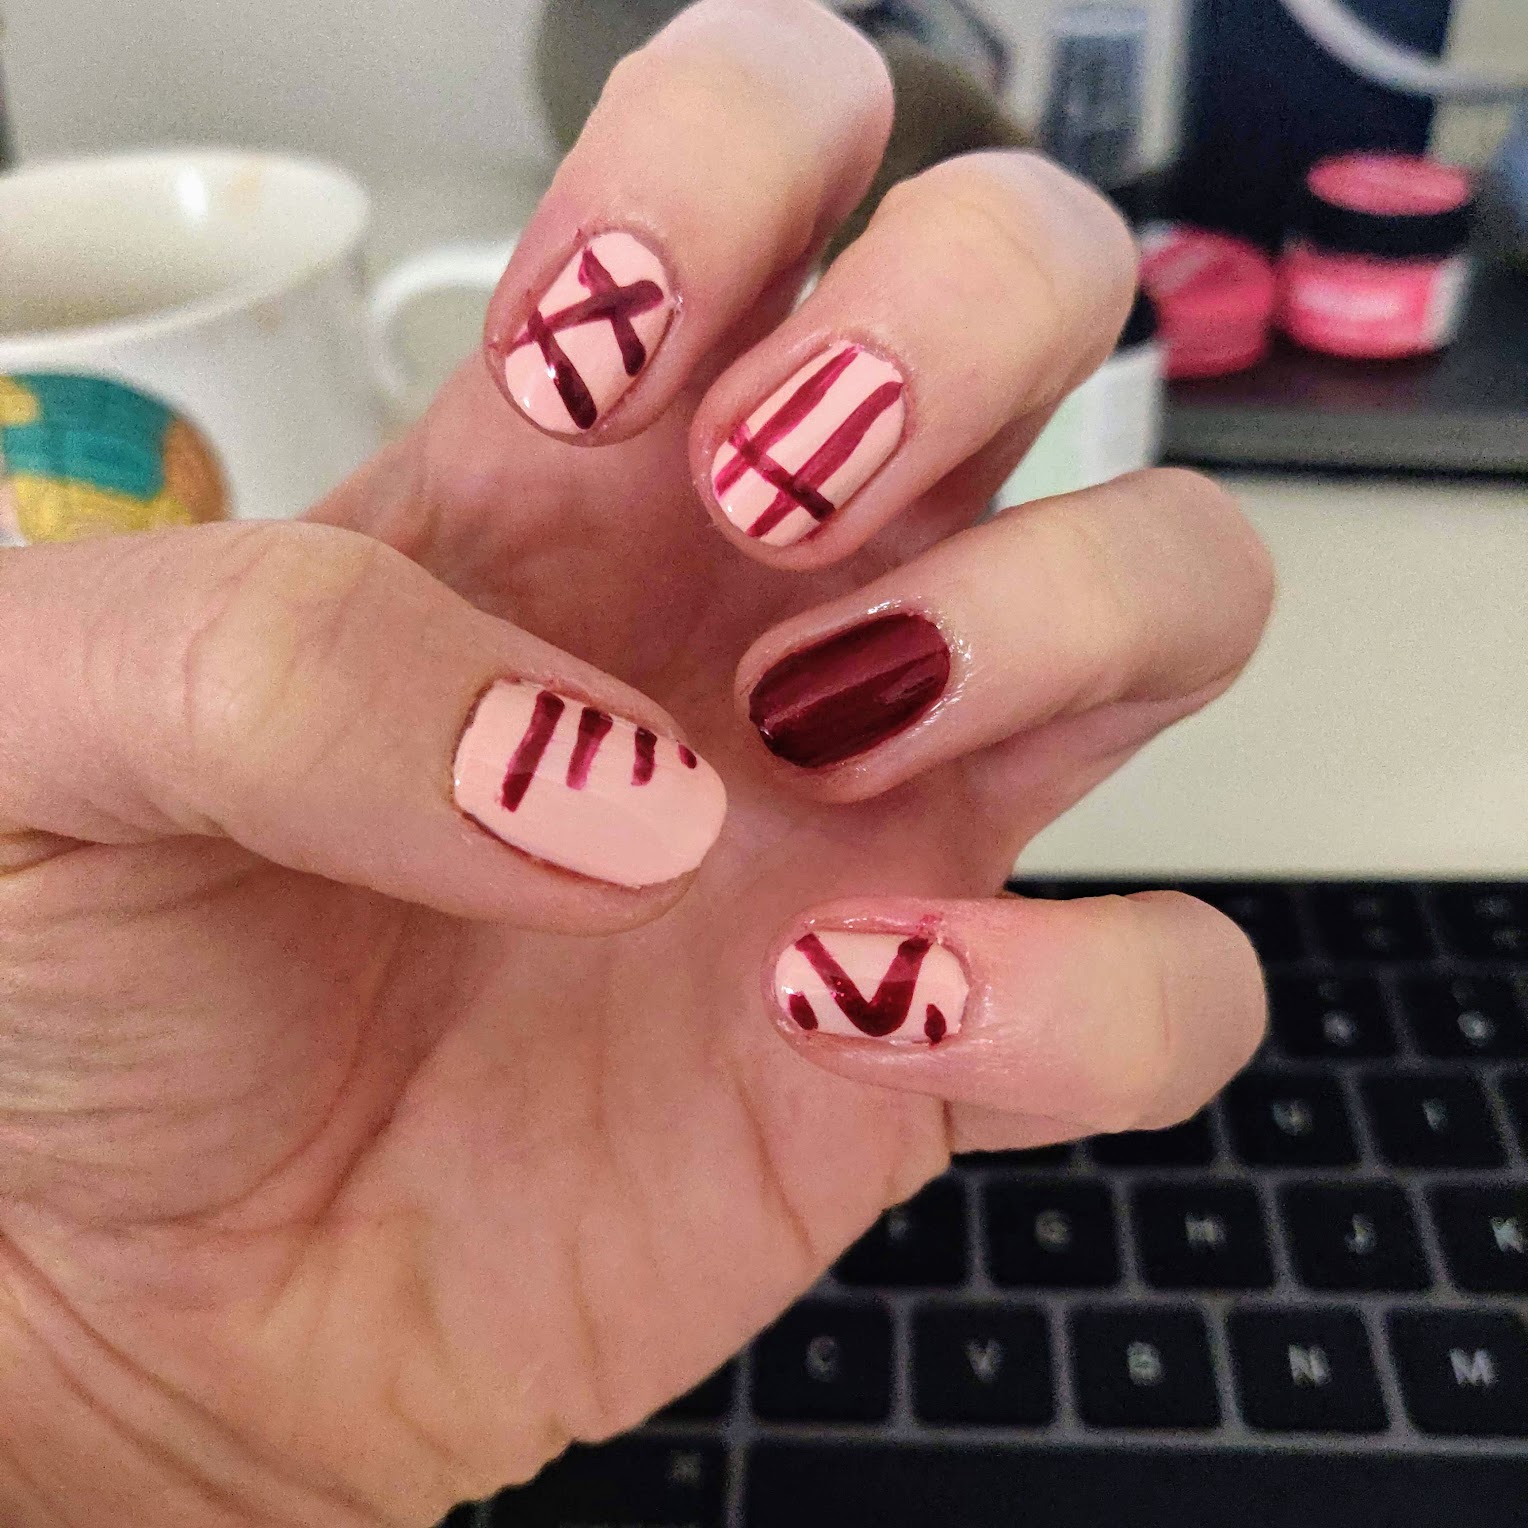
My first set 1️⃣
My very first set was an absolute disaster. I had one single brush that my partner had given me and I very shakily drew on these uneven lines. Absolute horror show! 😱
Even though this set is quite bad, I did get my essentials right. I applied a nourishing base coat, two coats of base colour, the “nail art” and then sealed everything with topcoat. These steps are very important to a long lasting manicure.
I’m including this set so you can get an idea of how badly things can go. Also, in true Dunning-Kruger fashion, I actually thought they were not that bad.
The discovery of striping tape 💡
After seeing how tough it is to draw straight even lines with your left hand on your right hand and YOLO’ing my first set, I looked up how lines are actually drawn. I discovered that colours are layered together and crisp lines are produced using striping tape - which is basically a very thin adhesive masking tape. It’s available all over the Internet.
Striping tape should only be applied on fully dry, top-coated nails! See this excellent video if you want to learn how to use striping tape correctly.
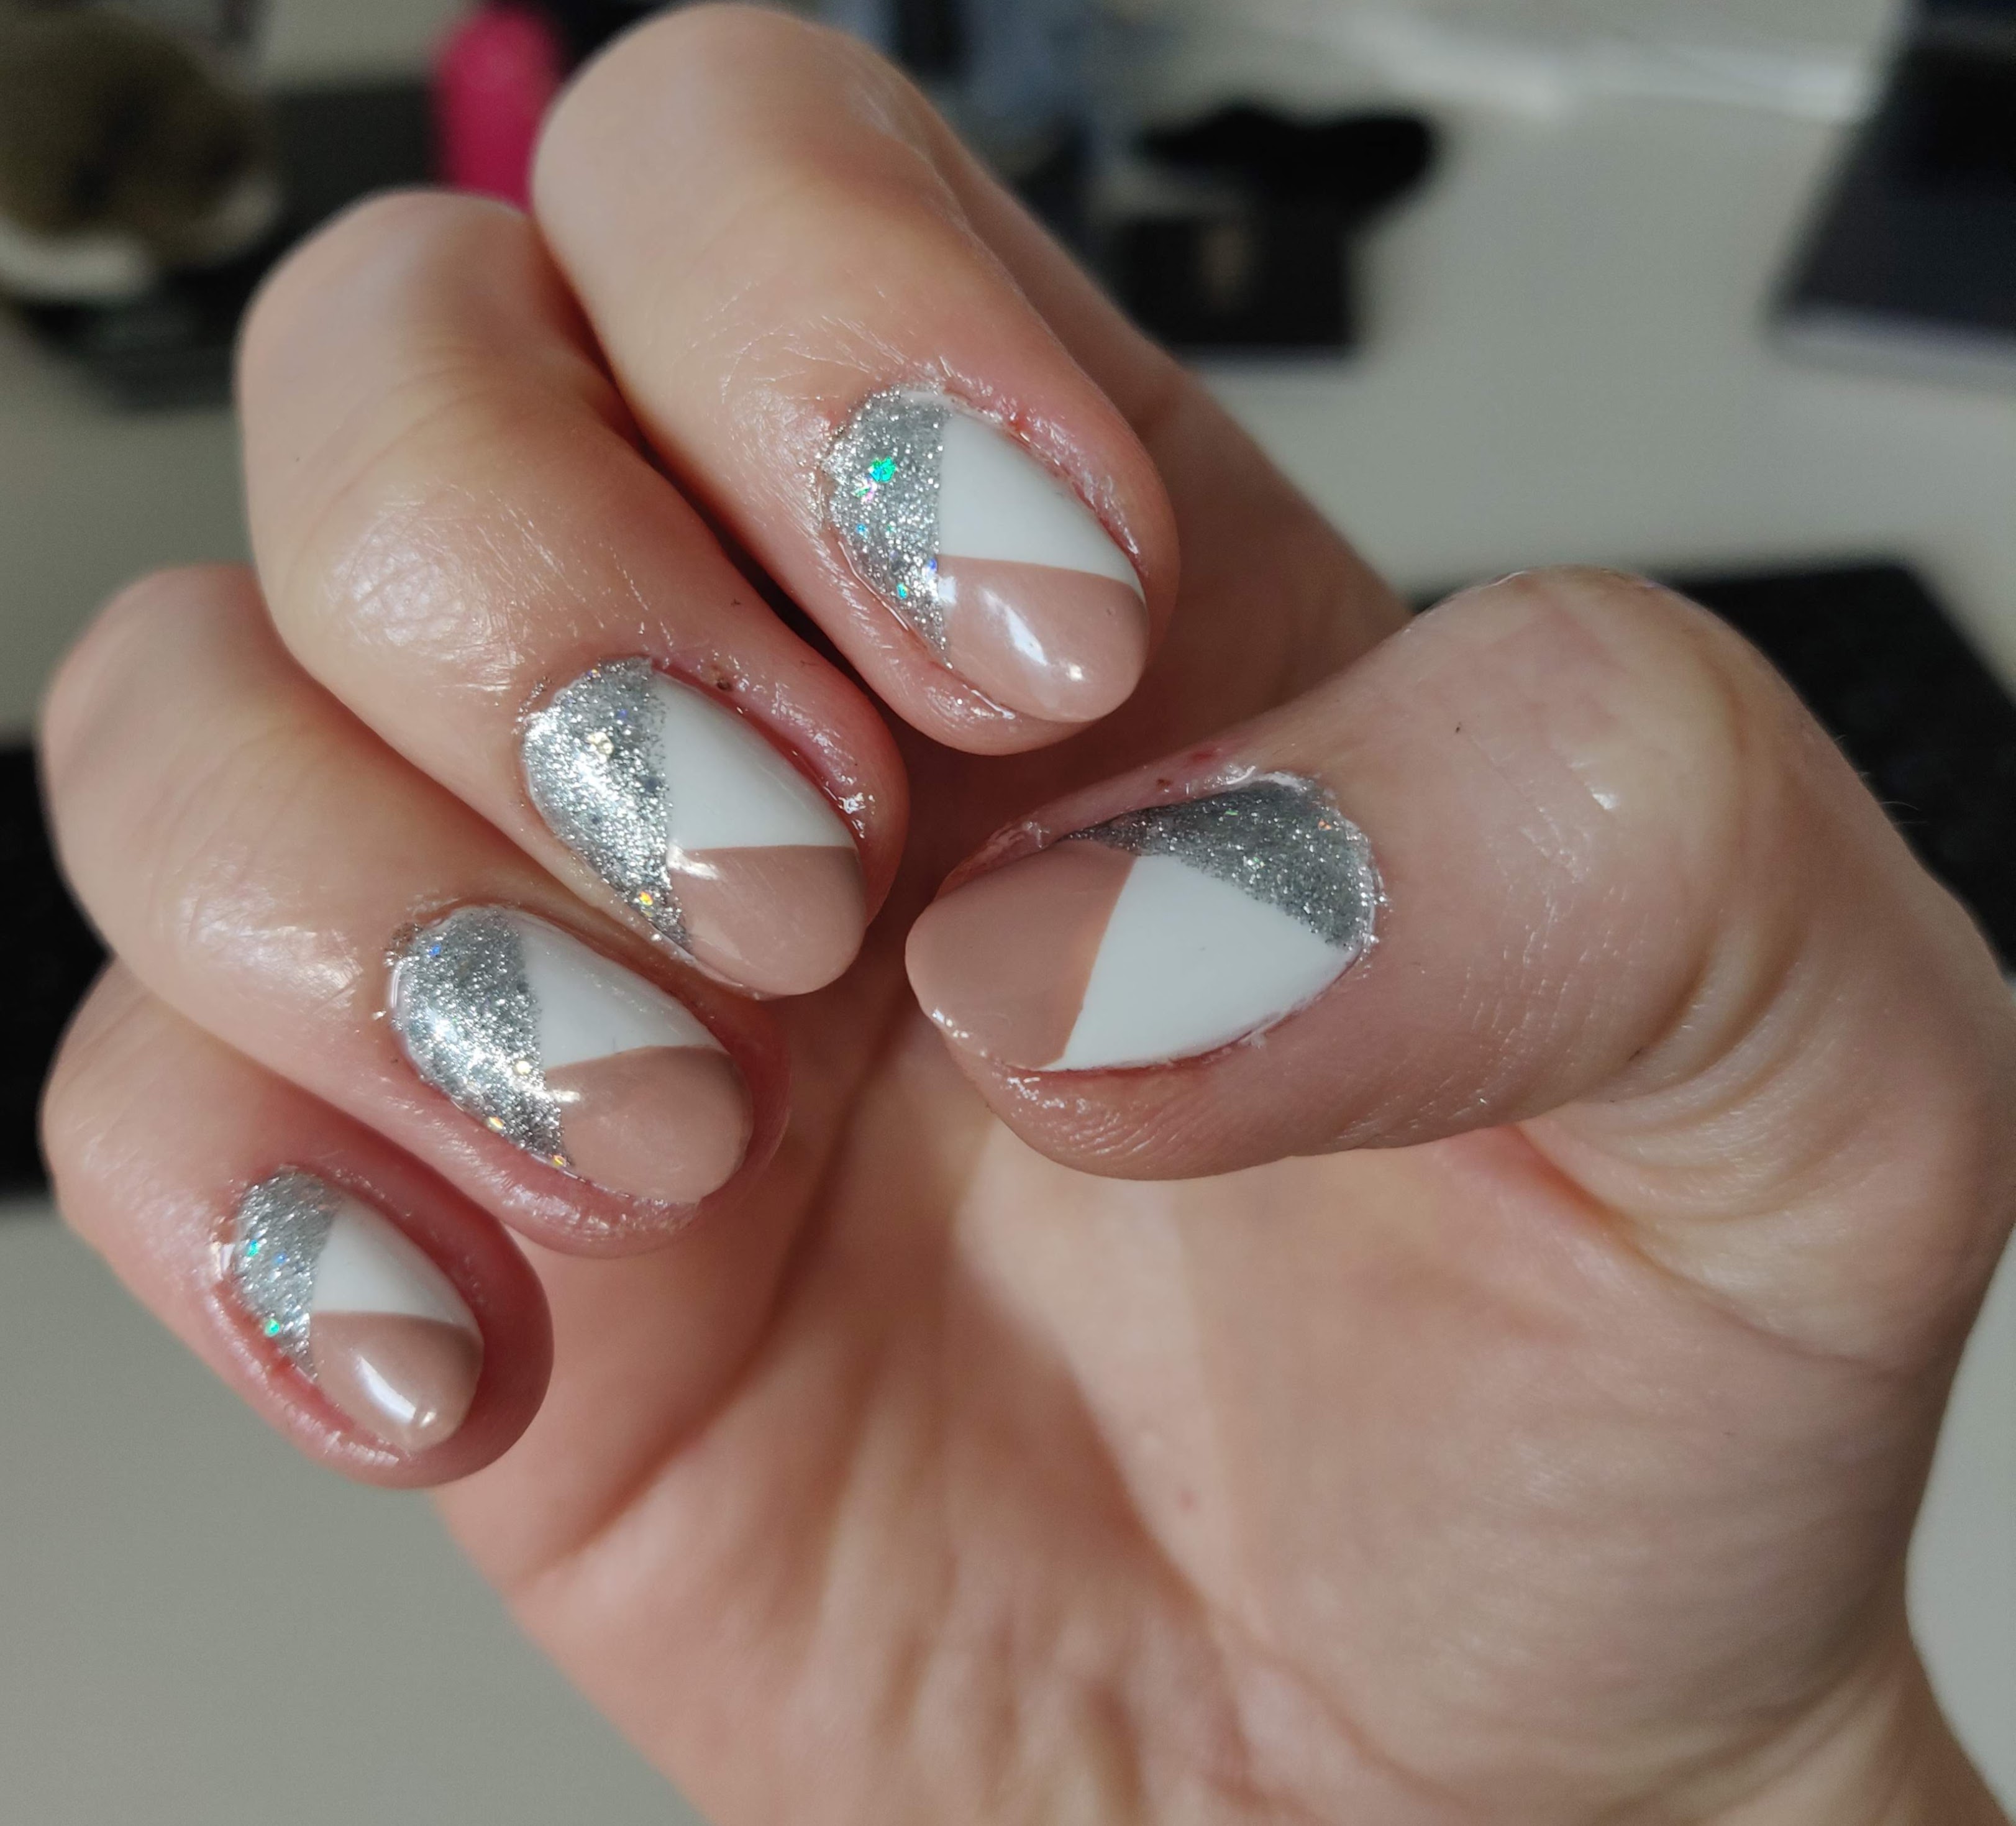
The power of the liner brush ⌇
While glitter polish is very forgiving to uneven applications, the liner brush has a long head that allows you to evenly load it and draw long lines. This is my liner brush, but there are many others.
The liner brush is the hero 🦸🏻♀️ of evenly coloured lines, from beginning to end. The set below is made with a combination of striping tape and liner brush.
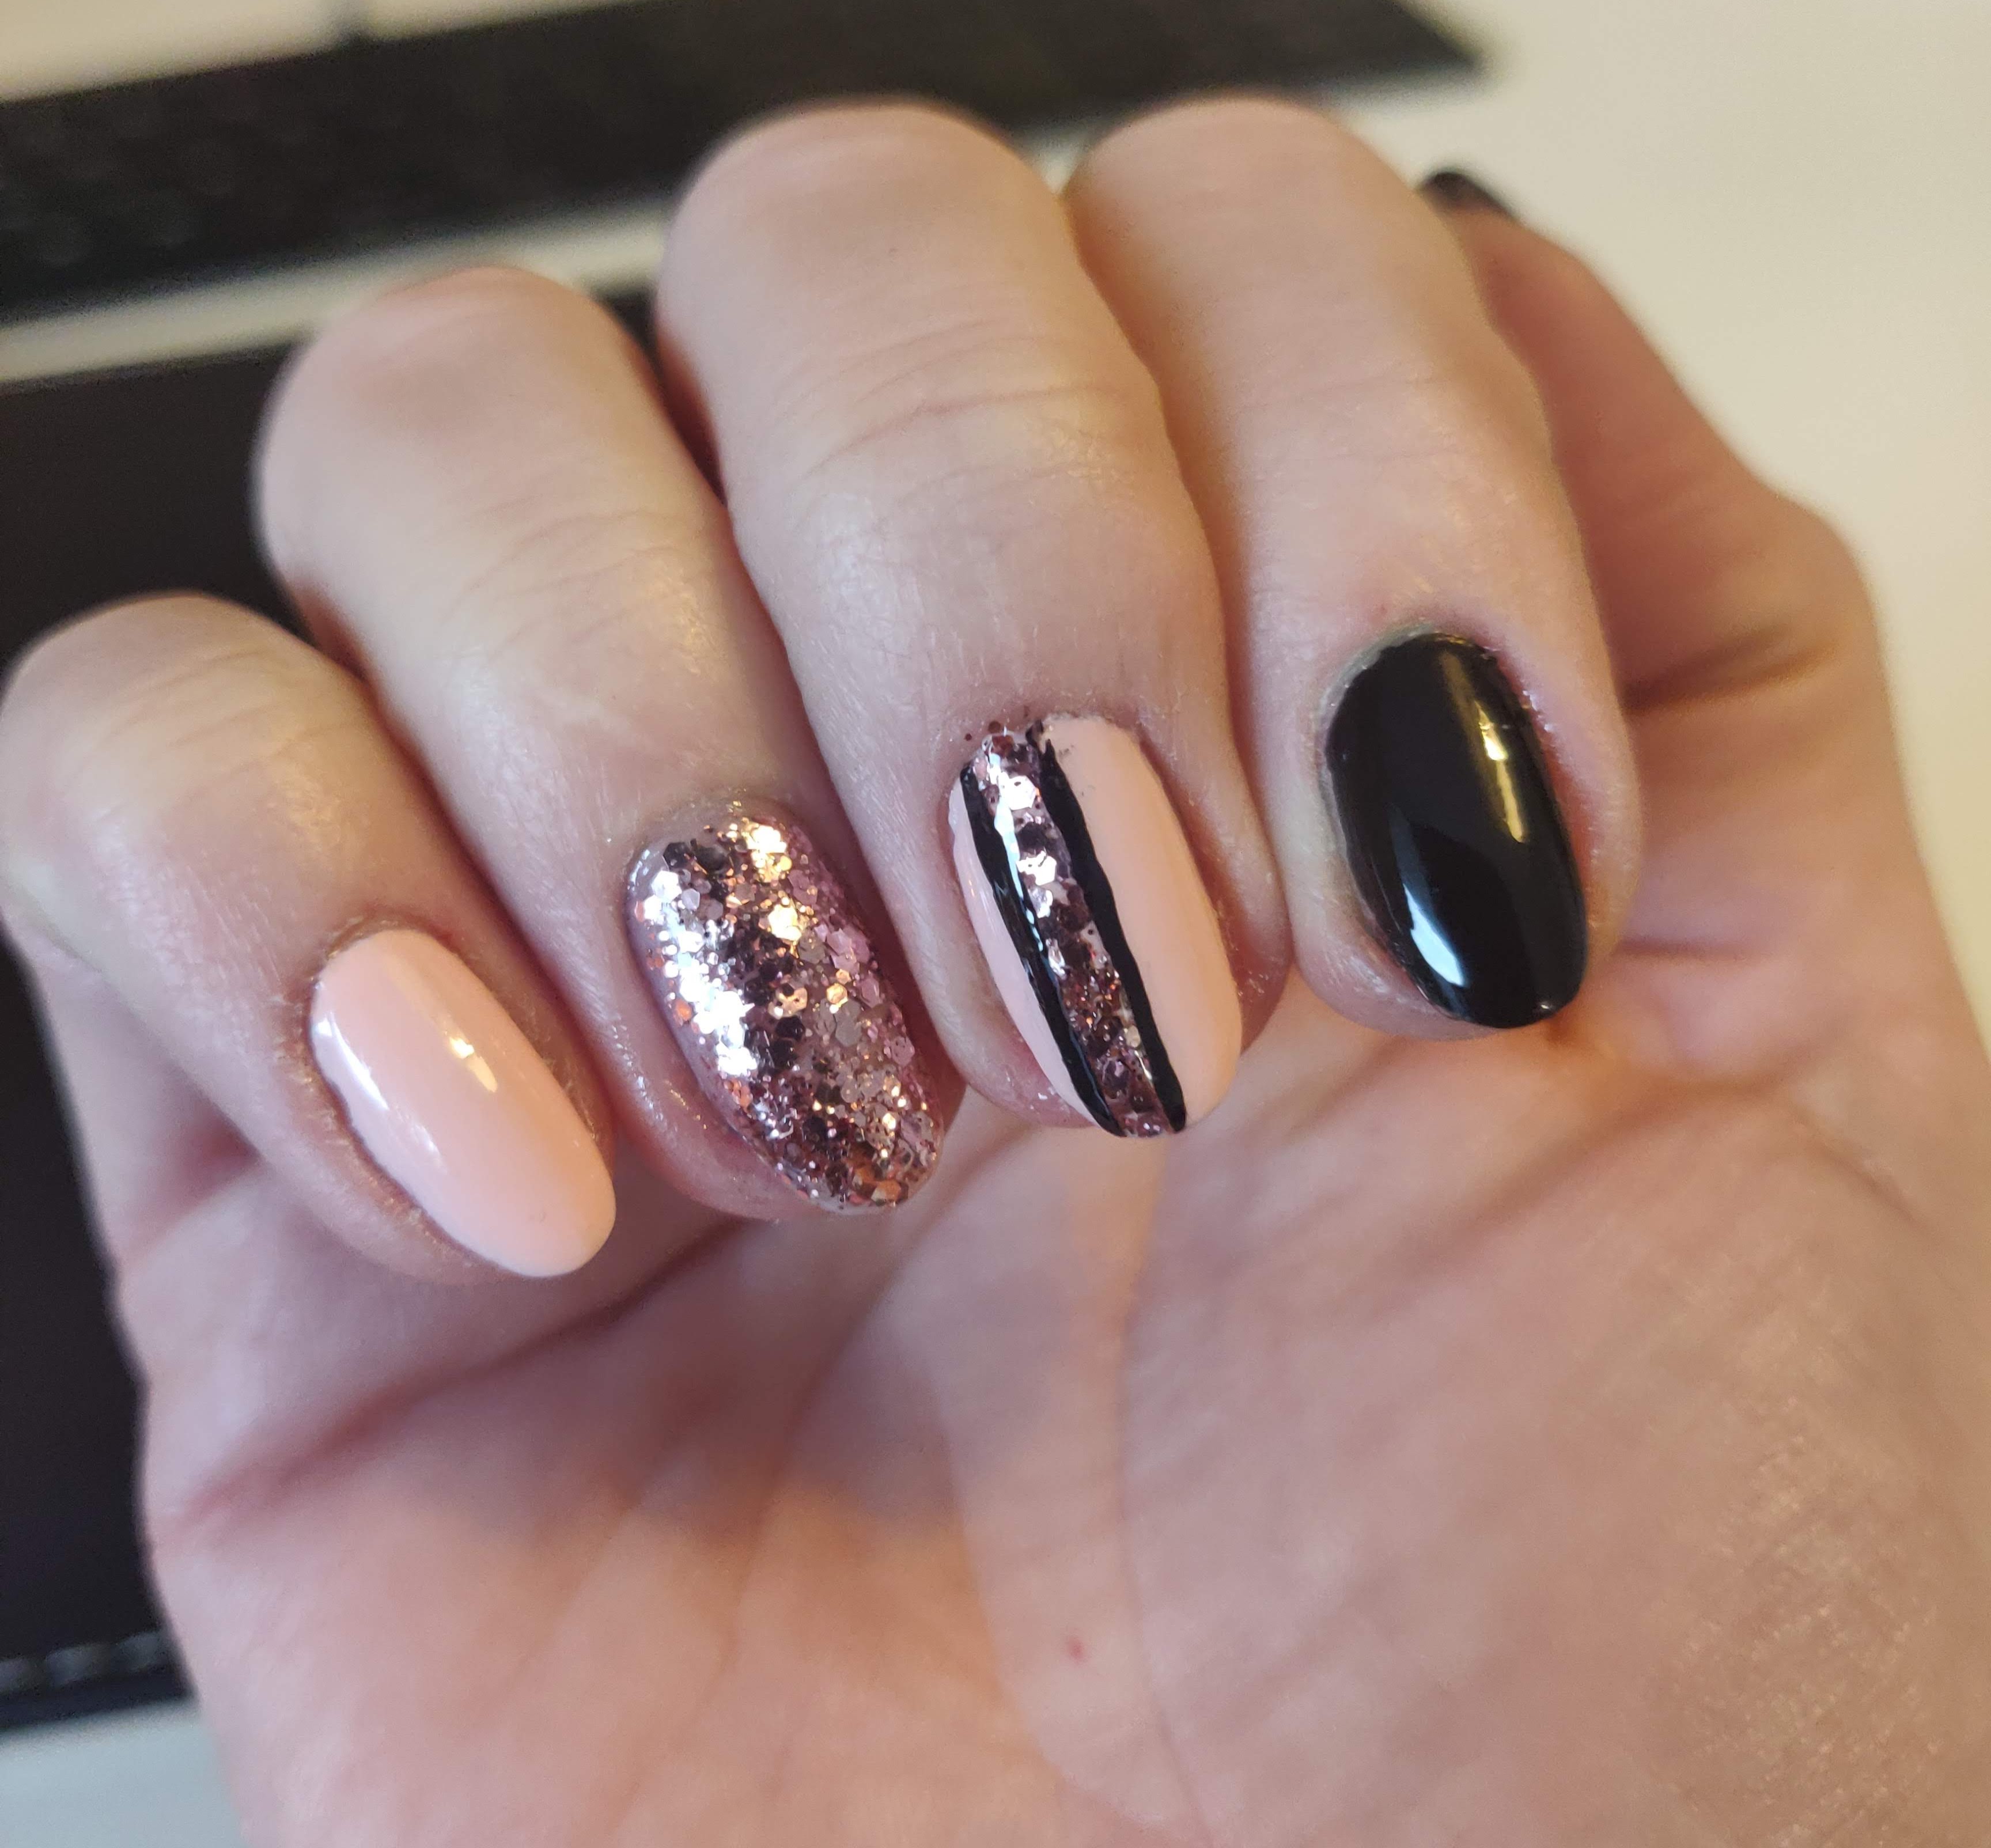
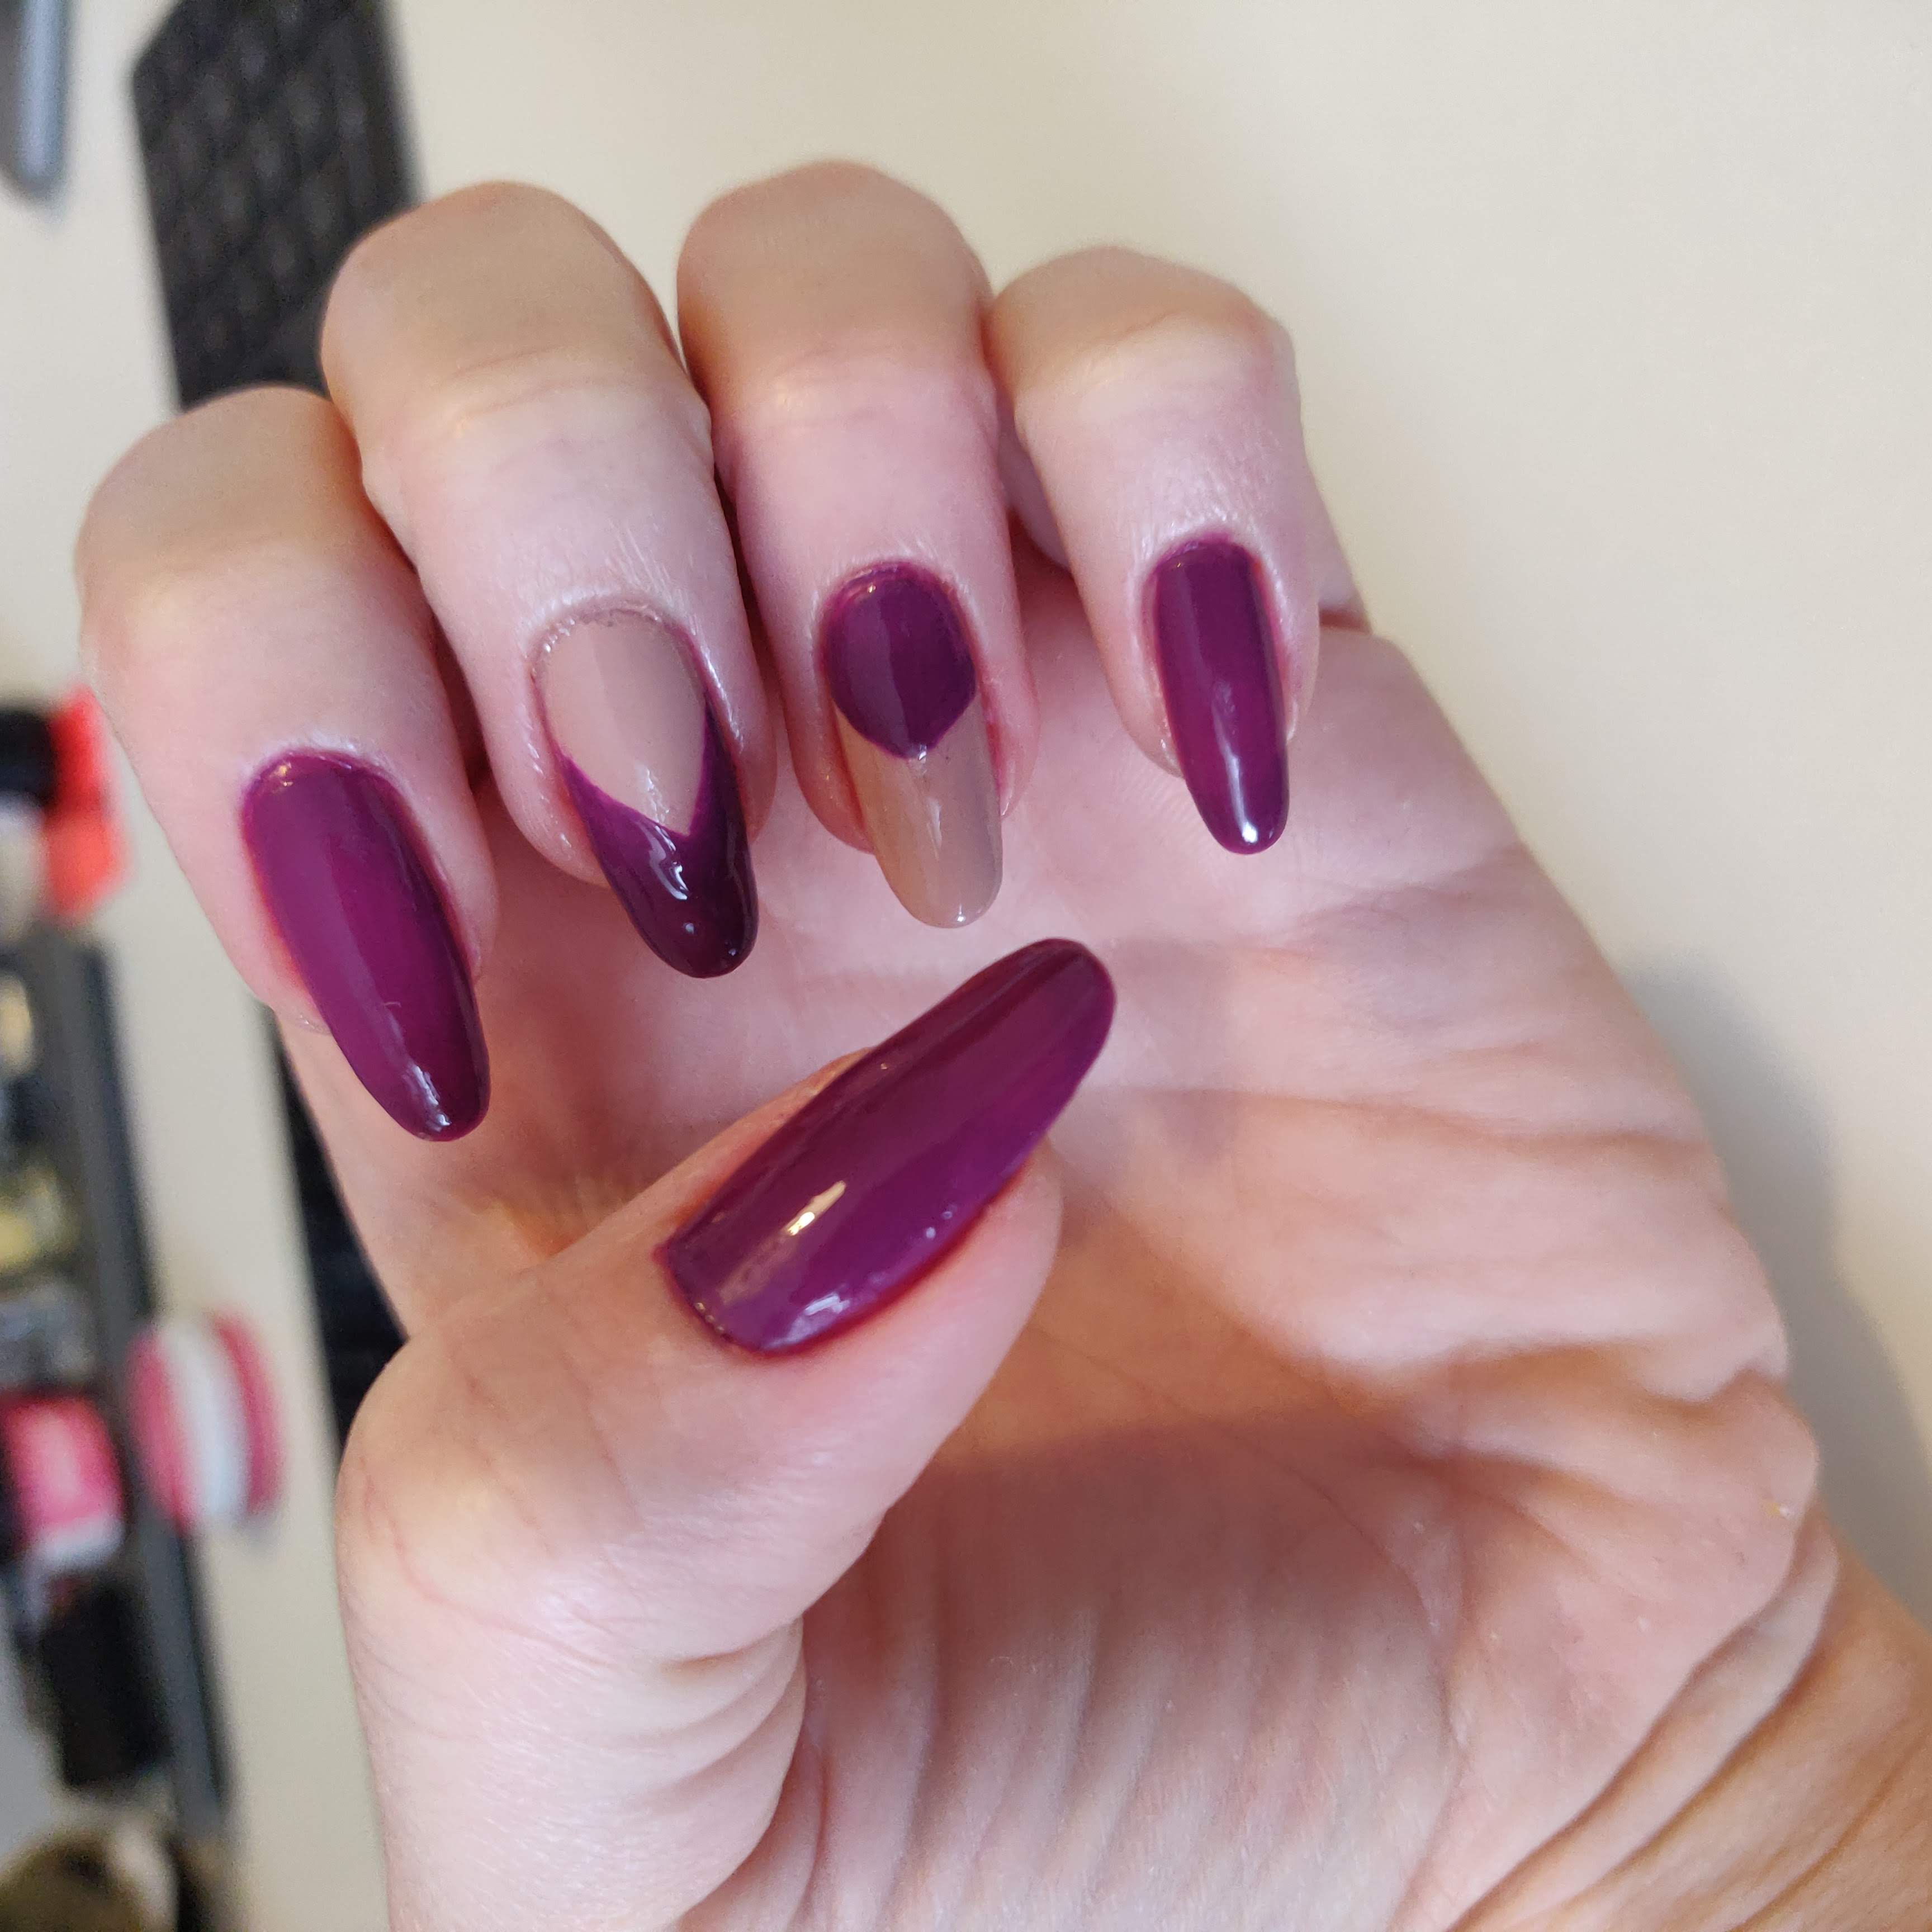
Cheating a steady hand with tip guides ✍️
Even with the miracle liner brush, I found it really difficult to apply long even lines on myself. You can buy tip guides online to help you achieve the correct shape. As with striping tape, remember to apply them only on top of fully dry, top-coated nails otherwise the polish will rip off.
I really like this set, but I must admit it took me over 3 hours to do 🙈 It was really time consuming to pain stakingly align the chevron guides to match, so tip guides are kind of a pain.
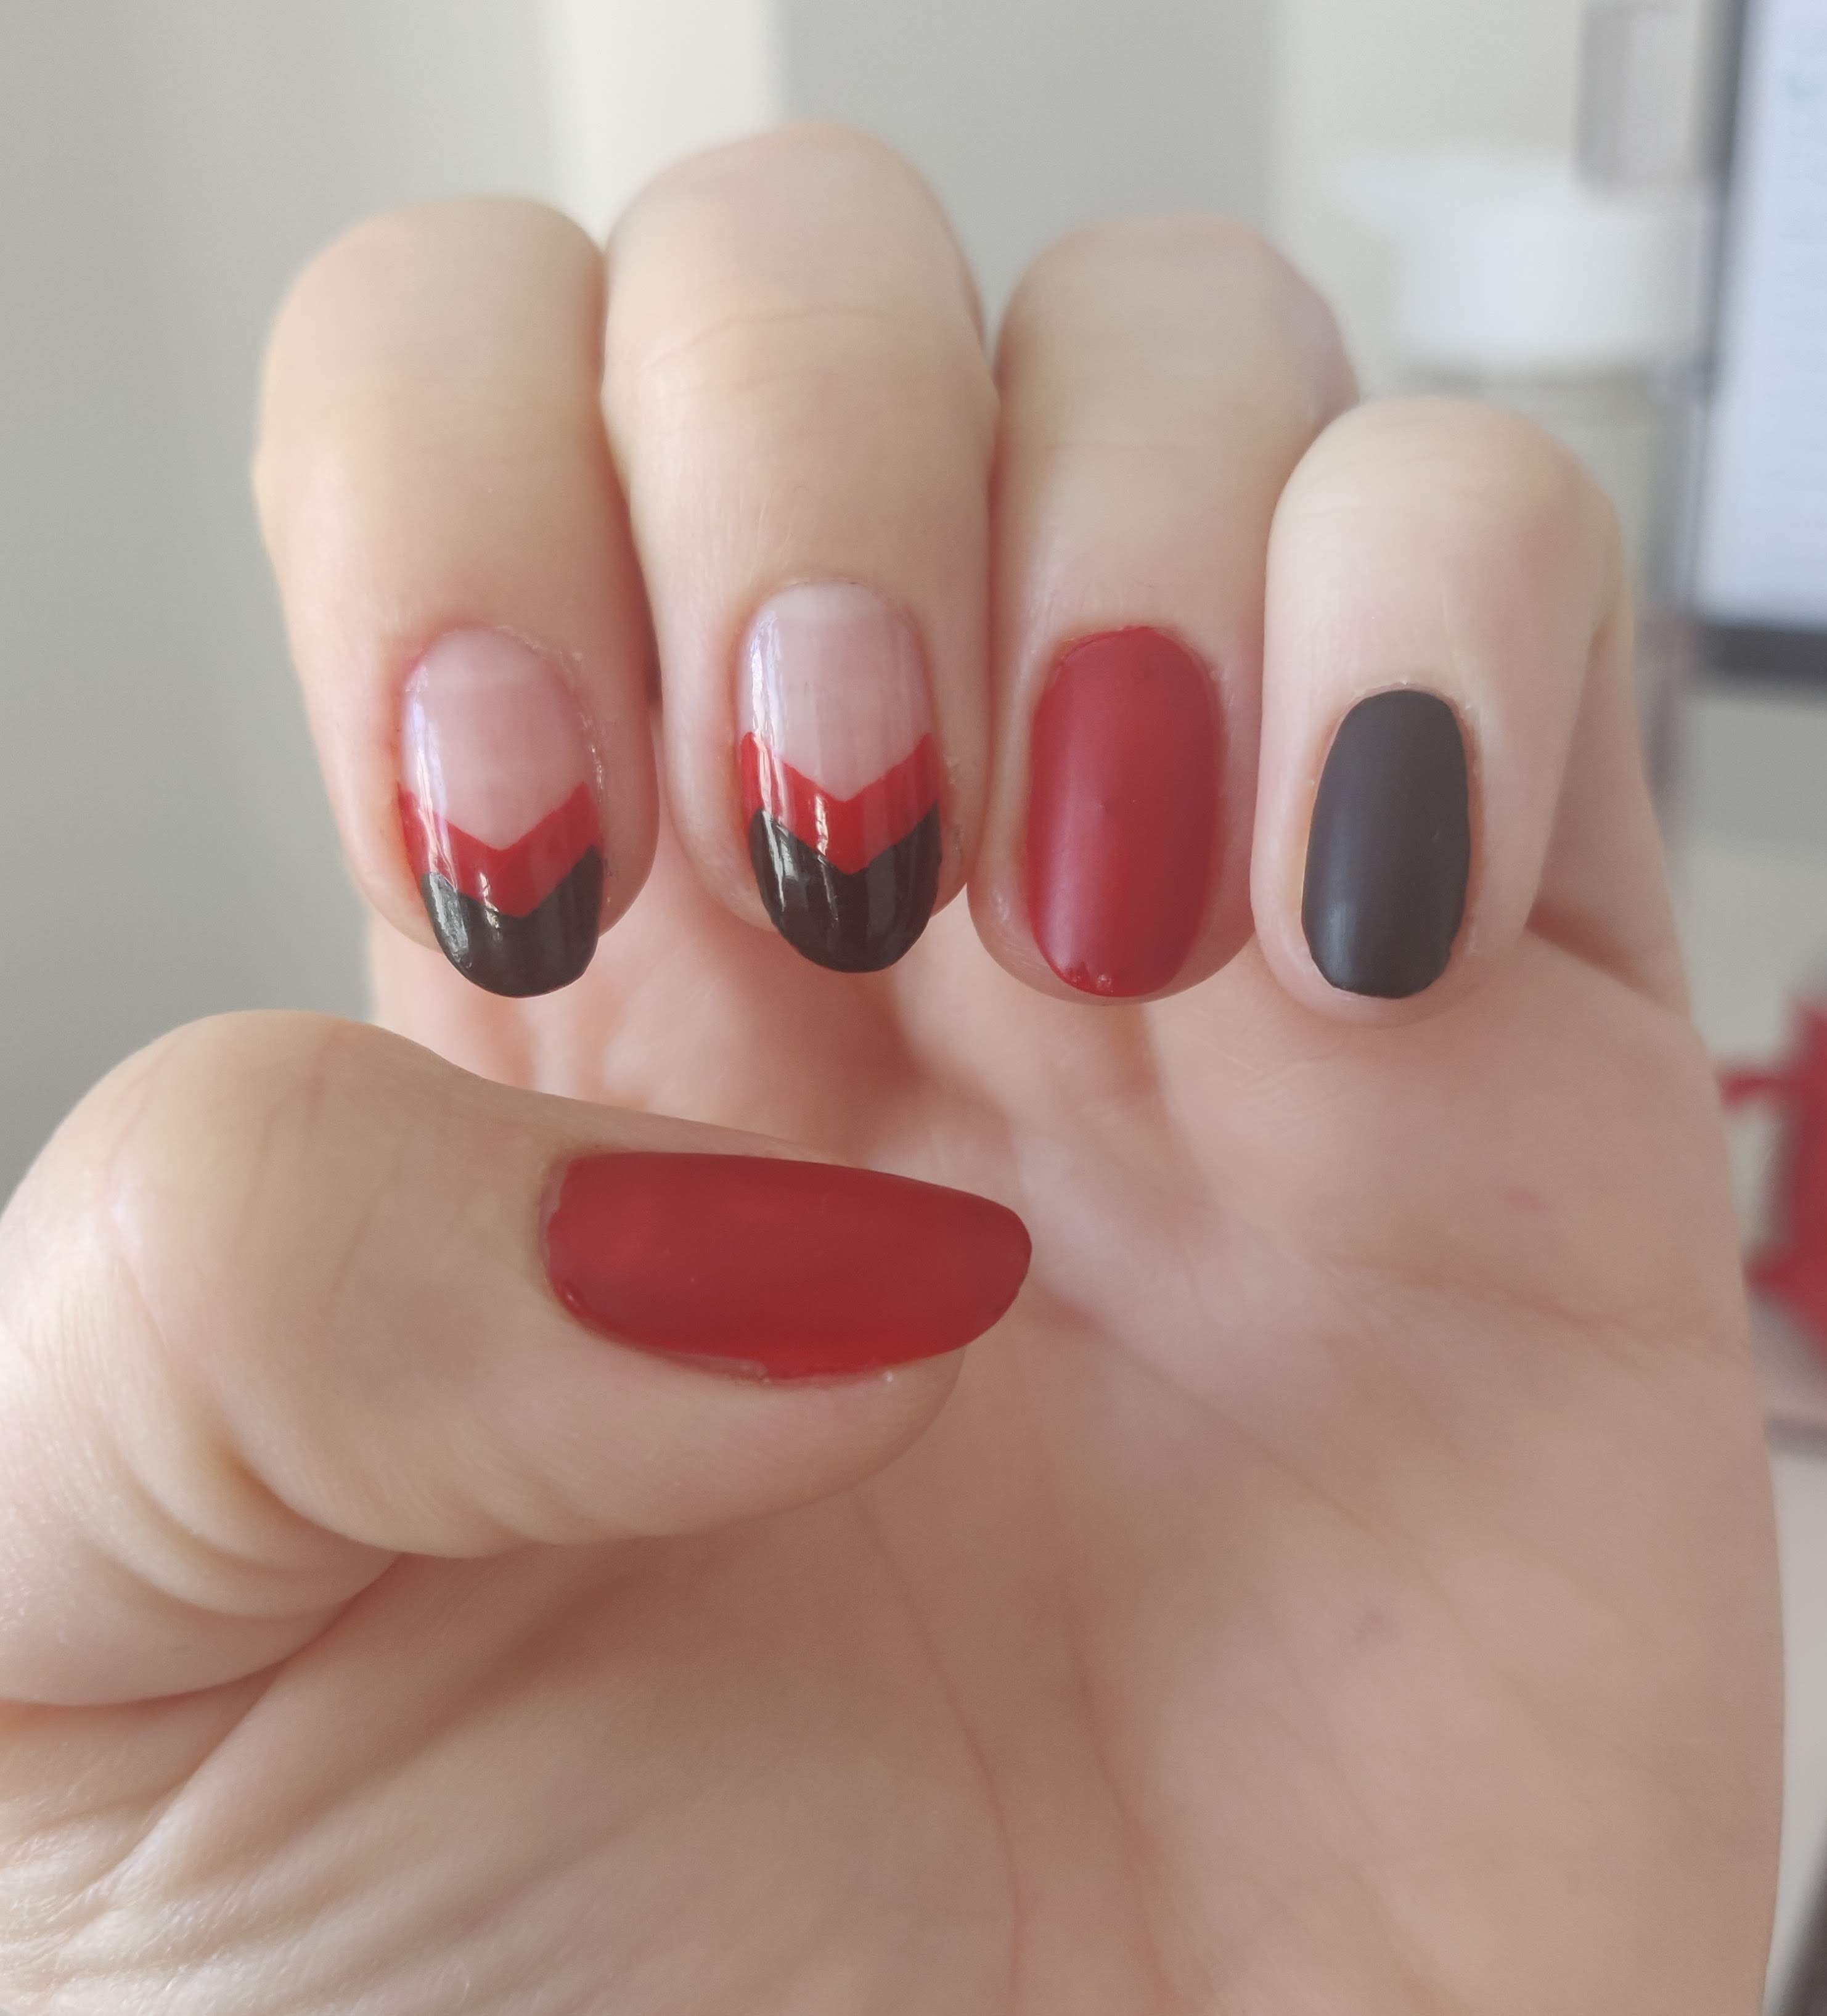
How long can I go? 🤷♀️
This was the longest set of nails I had and they are absolutely fabolous!💯
They also demonstrate the almond nail shape, which comes naturally to my very curved nails. There are 7 nail shapes, but I find the almond the easiest to shape on my nails with a nail file.
Nail health is very important if you want to go long. You should focus on you supplements(B12 and Biotin in particular), as well as get into the habit of applying cuticle oil, which moisturizes and strengthens nails, if you want to grow naturally long nails. This is my cuticle oil, but there are many others online.
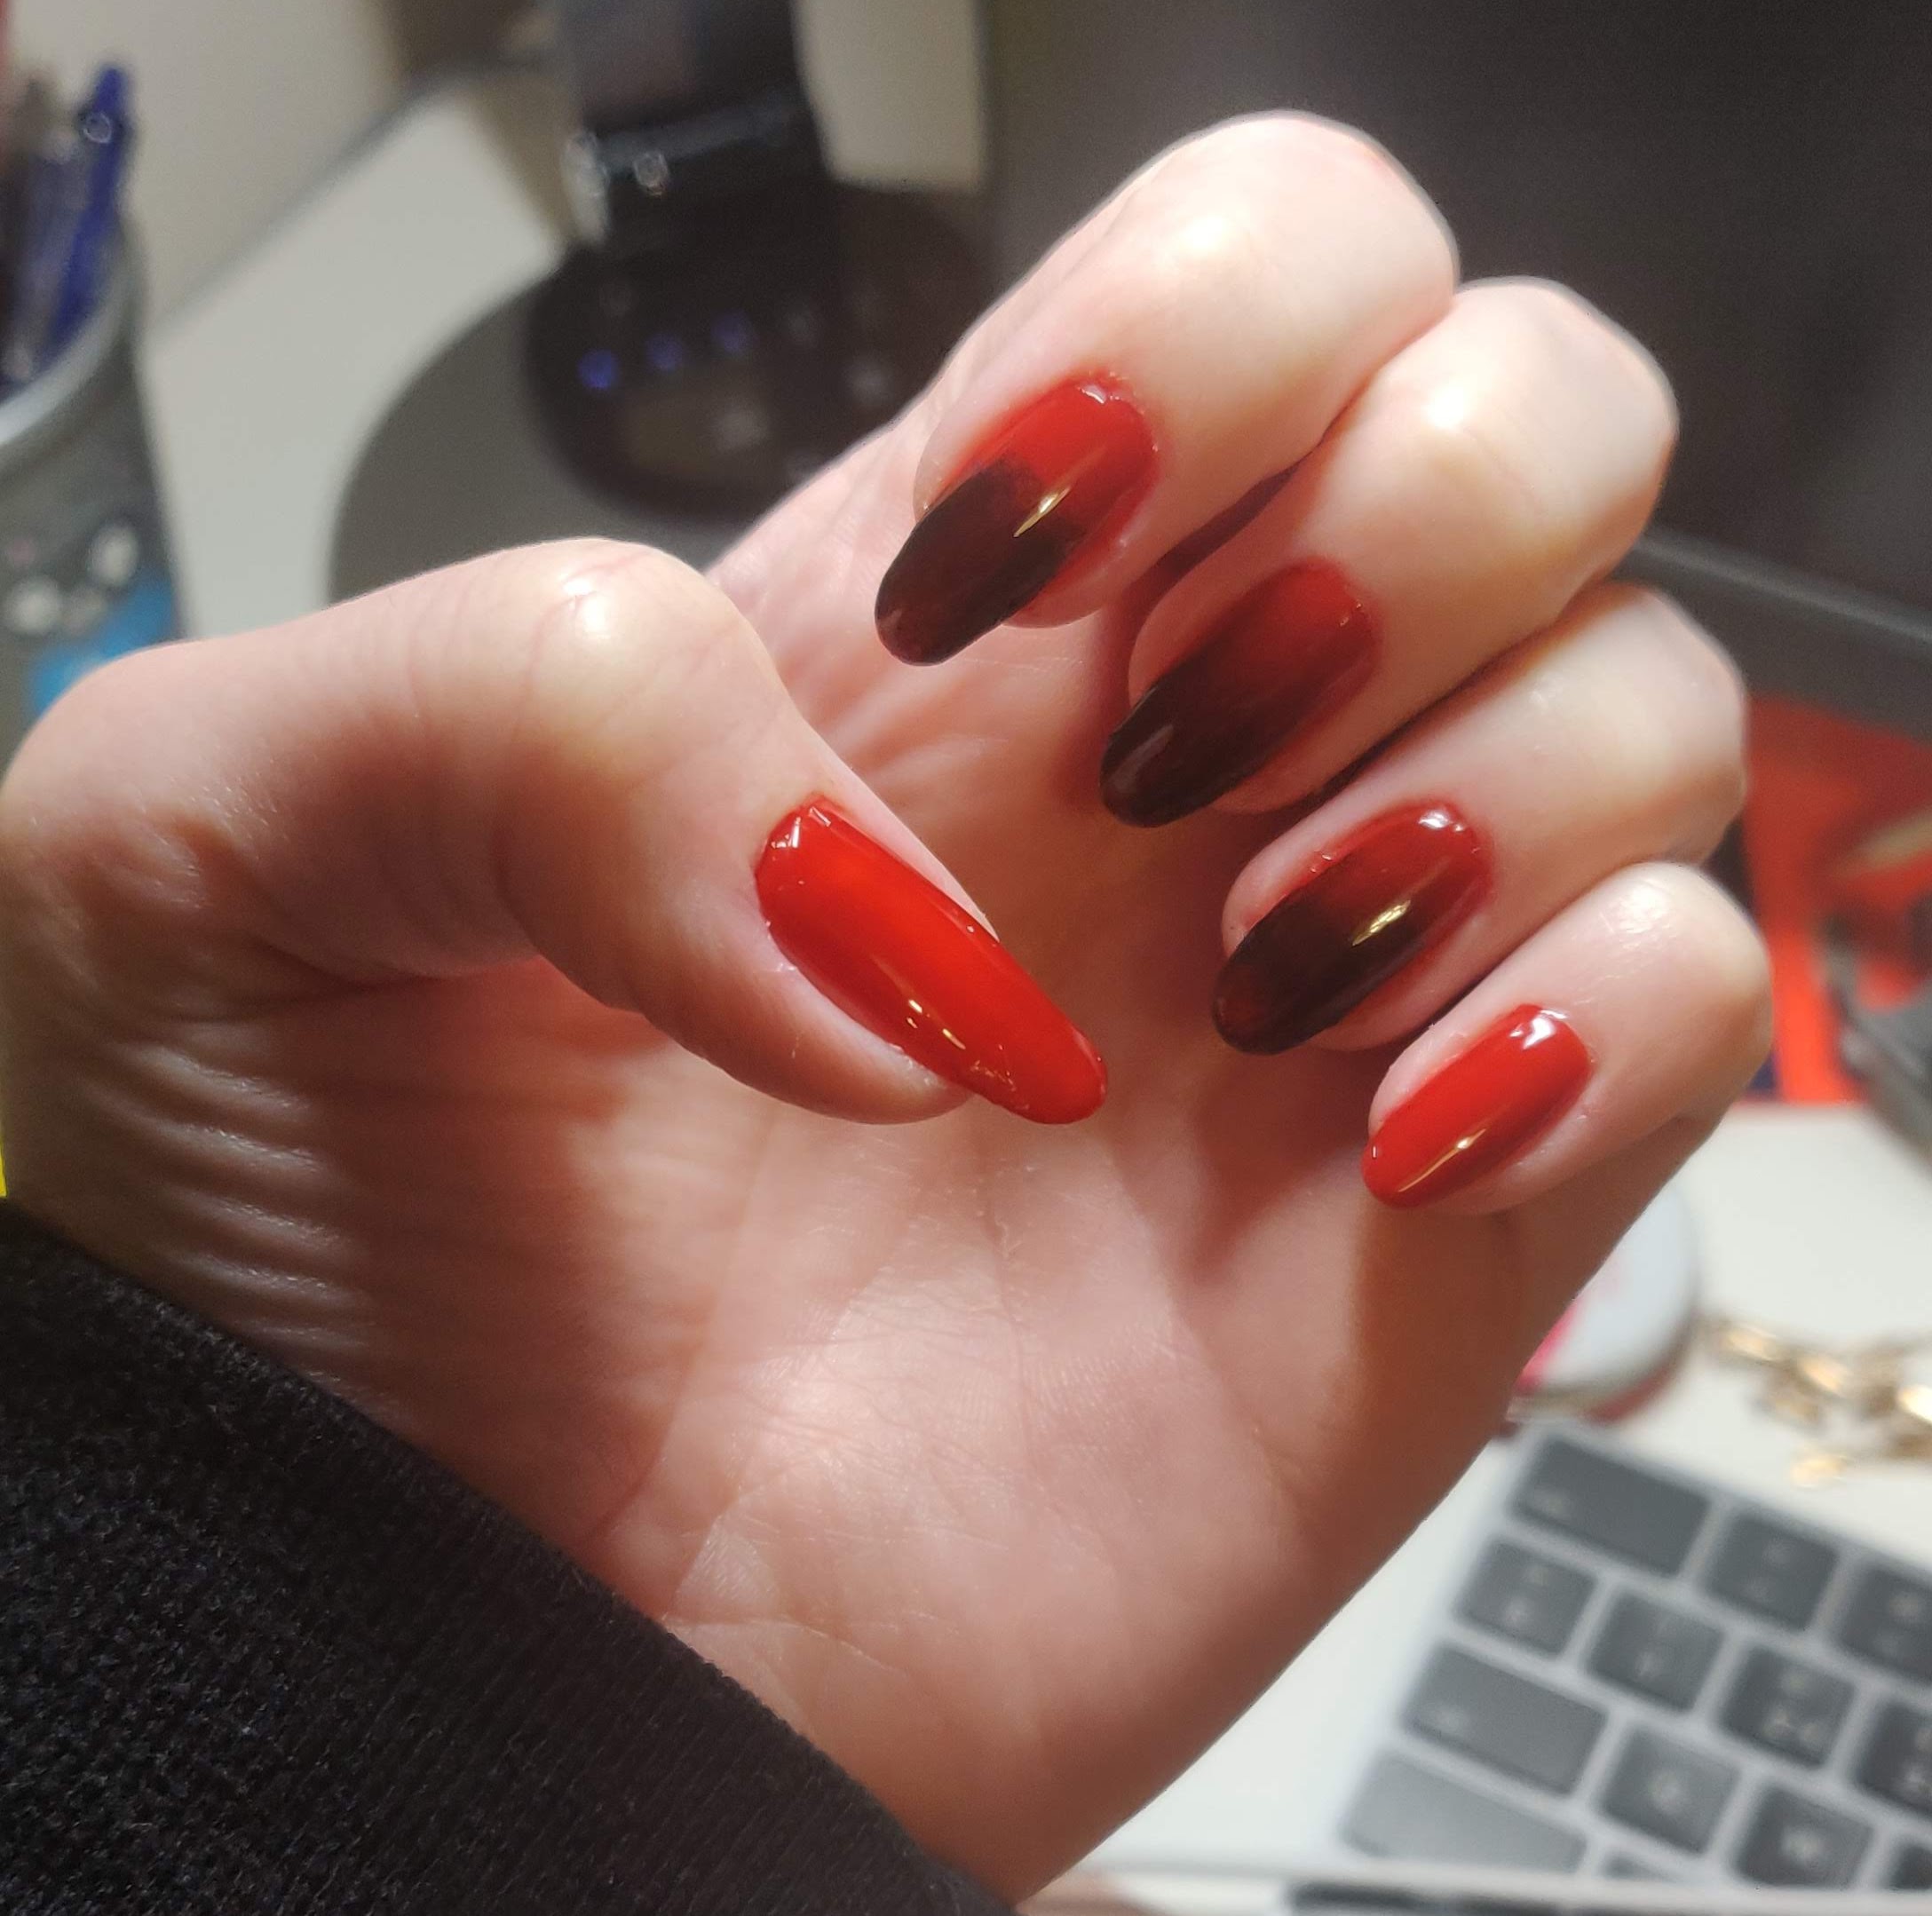
The drama of a good ombre 🎭
I’ve never been a girl for understated nails, so I absolutely love a dramactic good ombre.❤️
The process is a bit messy and time consuming on wet polish - you apply the polish to a makeup sponge and then layer it on your nails. You can see this excellent tutorial if you’d like to make your own ombre. I highly recommend using a liquid cuticle guard (or at least sticky tape!) as the polish will go all over your hands and it will be a nightmare to clean up.
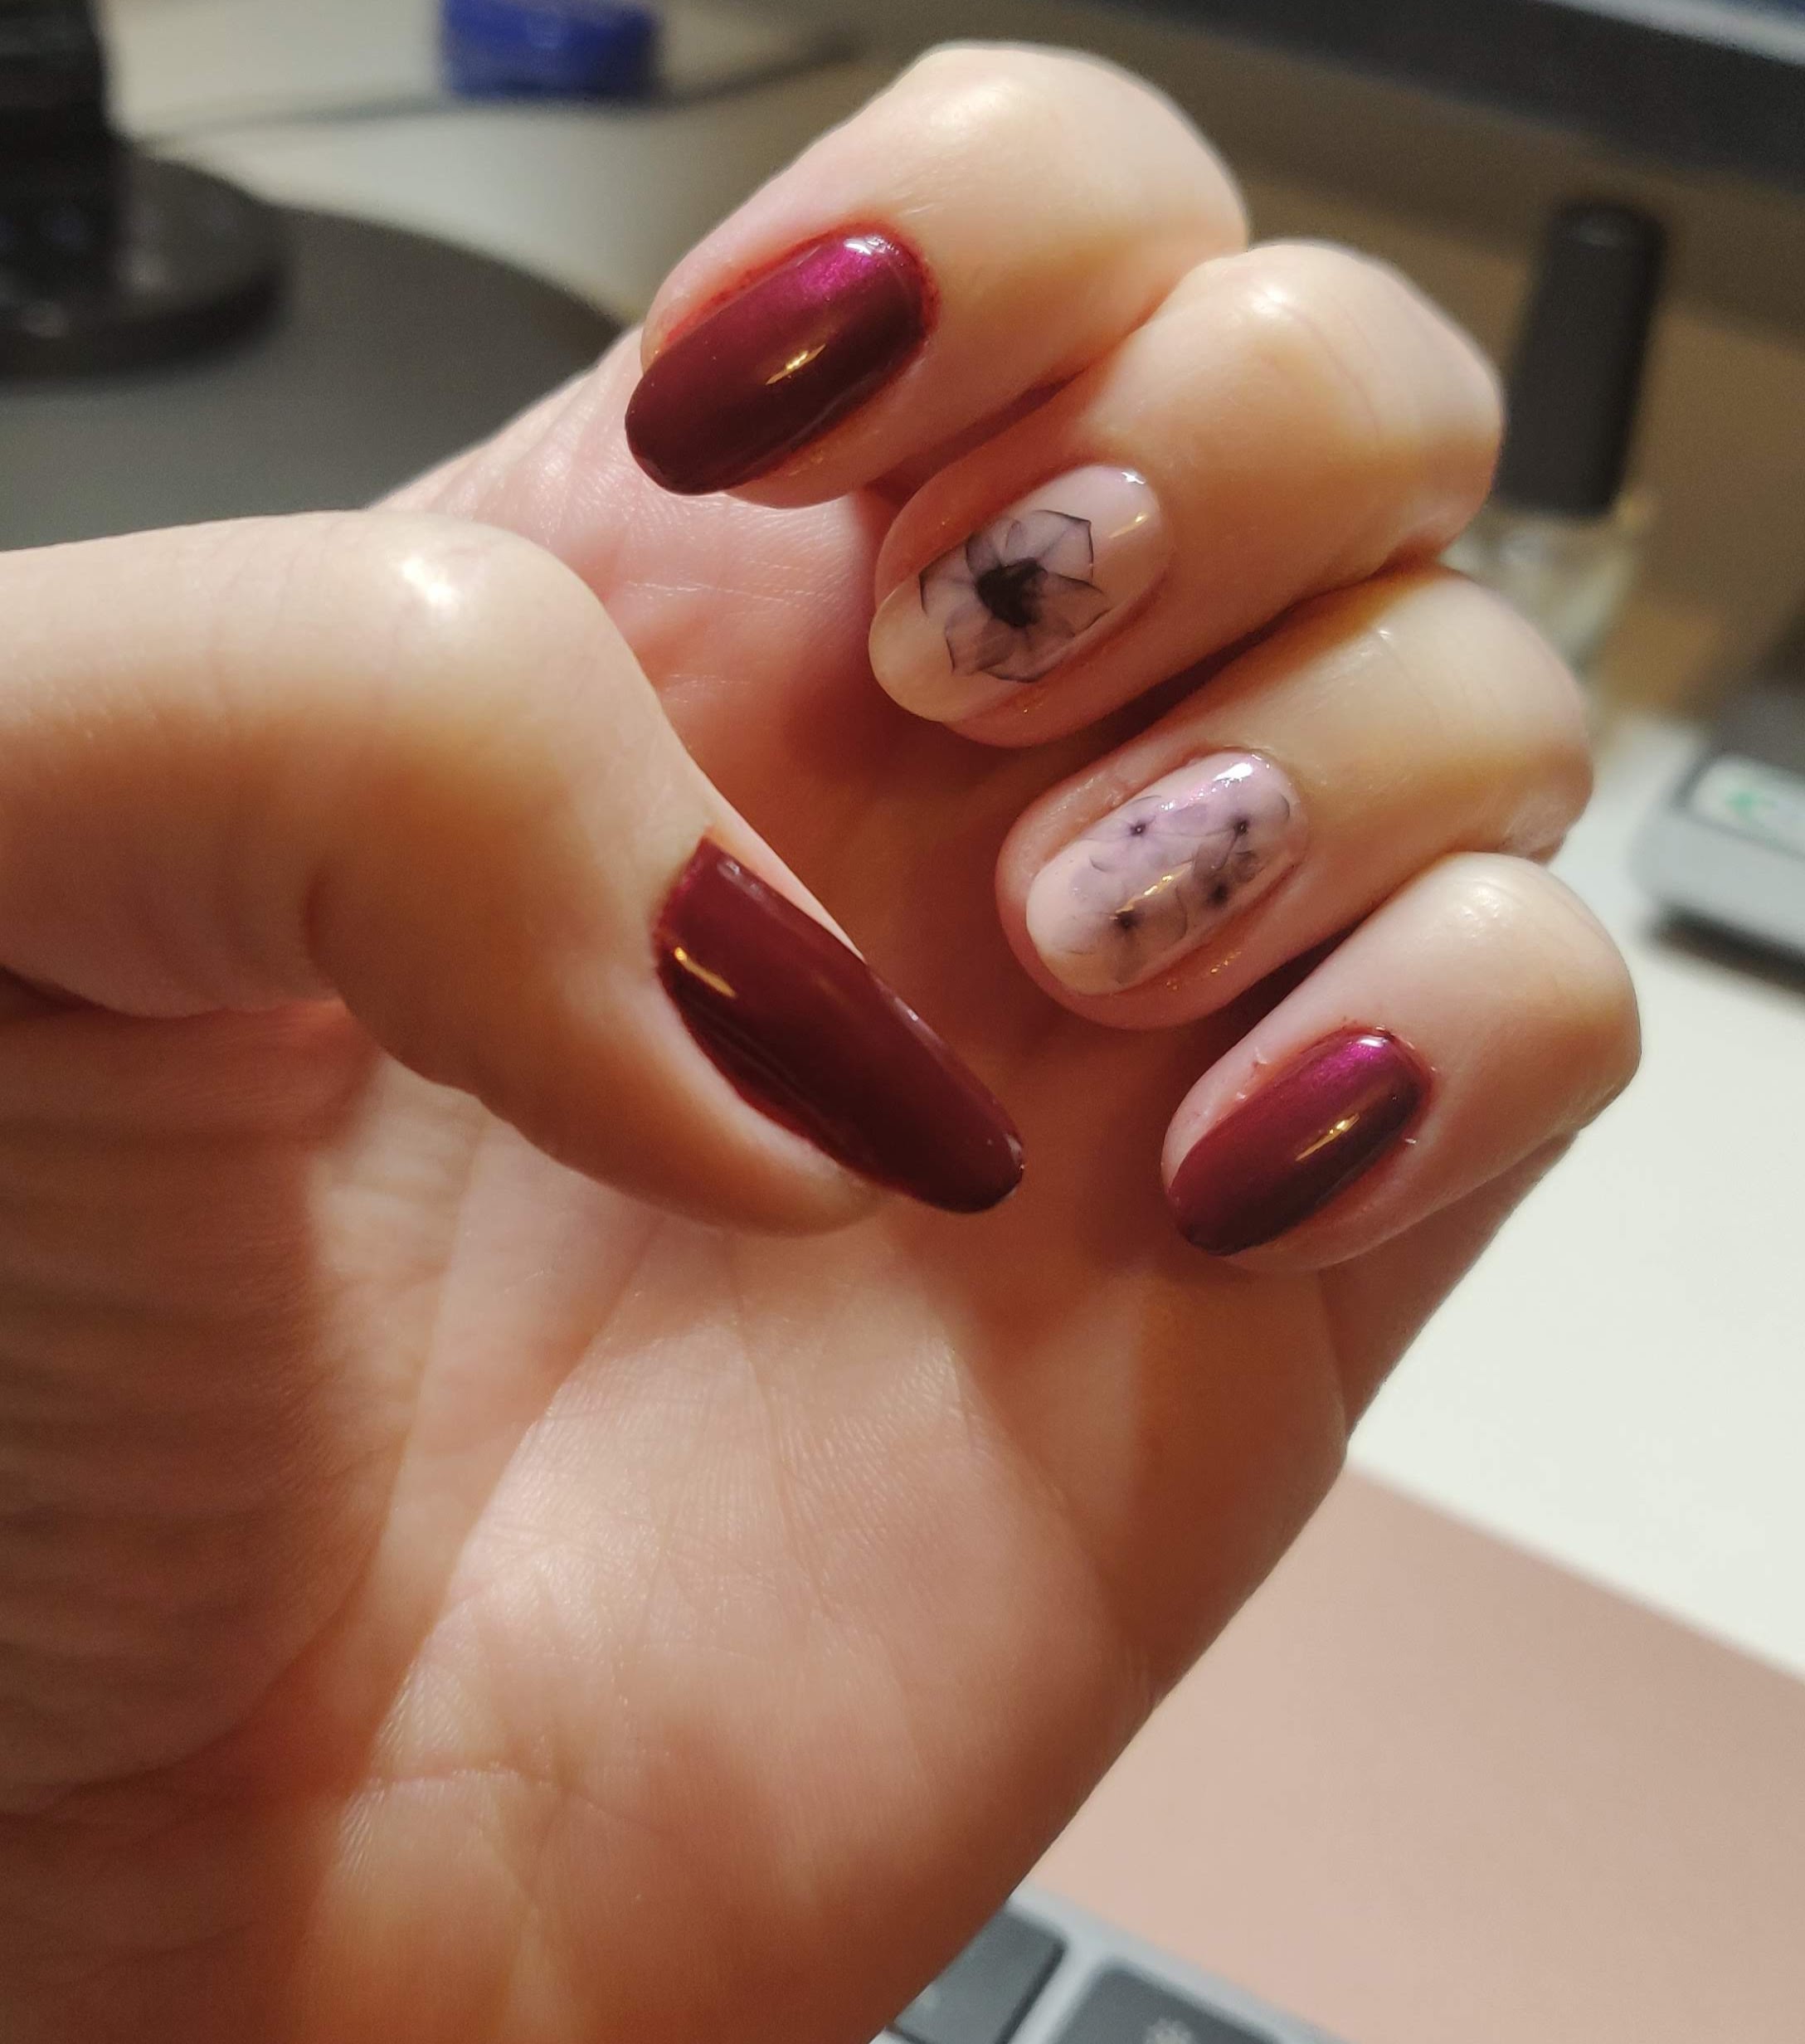
Delicate art with water decals 🌊
My dear friend Alicia ❤️ gifted me some amazing water decals that can be used on nails. They are super cool and easy to use - you submerge the decal and the paper it’s attached to in water for 10 seconds and then you can delicately slide it off the paper and onto your nails.
Decals are really cheap and available all over the internet. They are a wonderful addition to a delicate manicure. You can see this excellent video if you want to see how to use them.
Water decals should only be topcoated once they are fully dry! Otherwise, the topcoat will not seal properly and they will pop off.
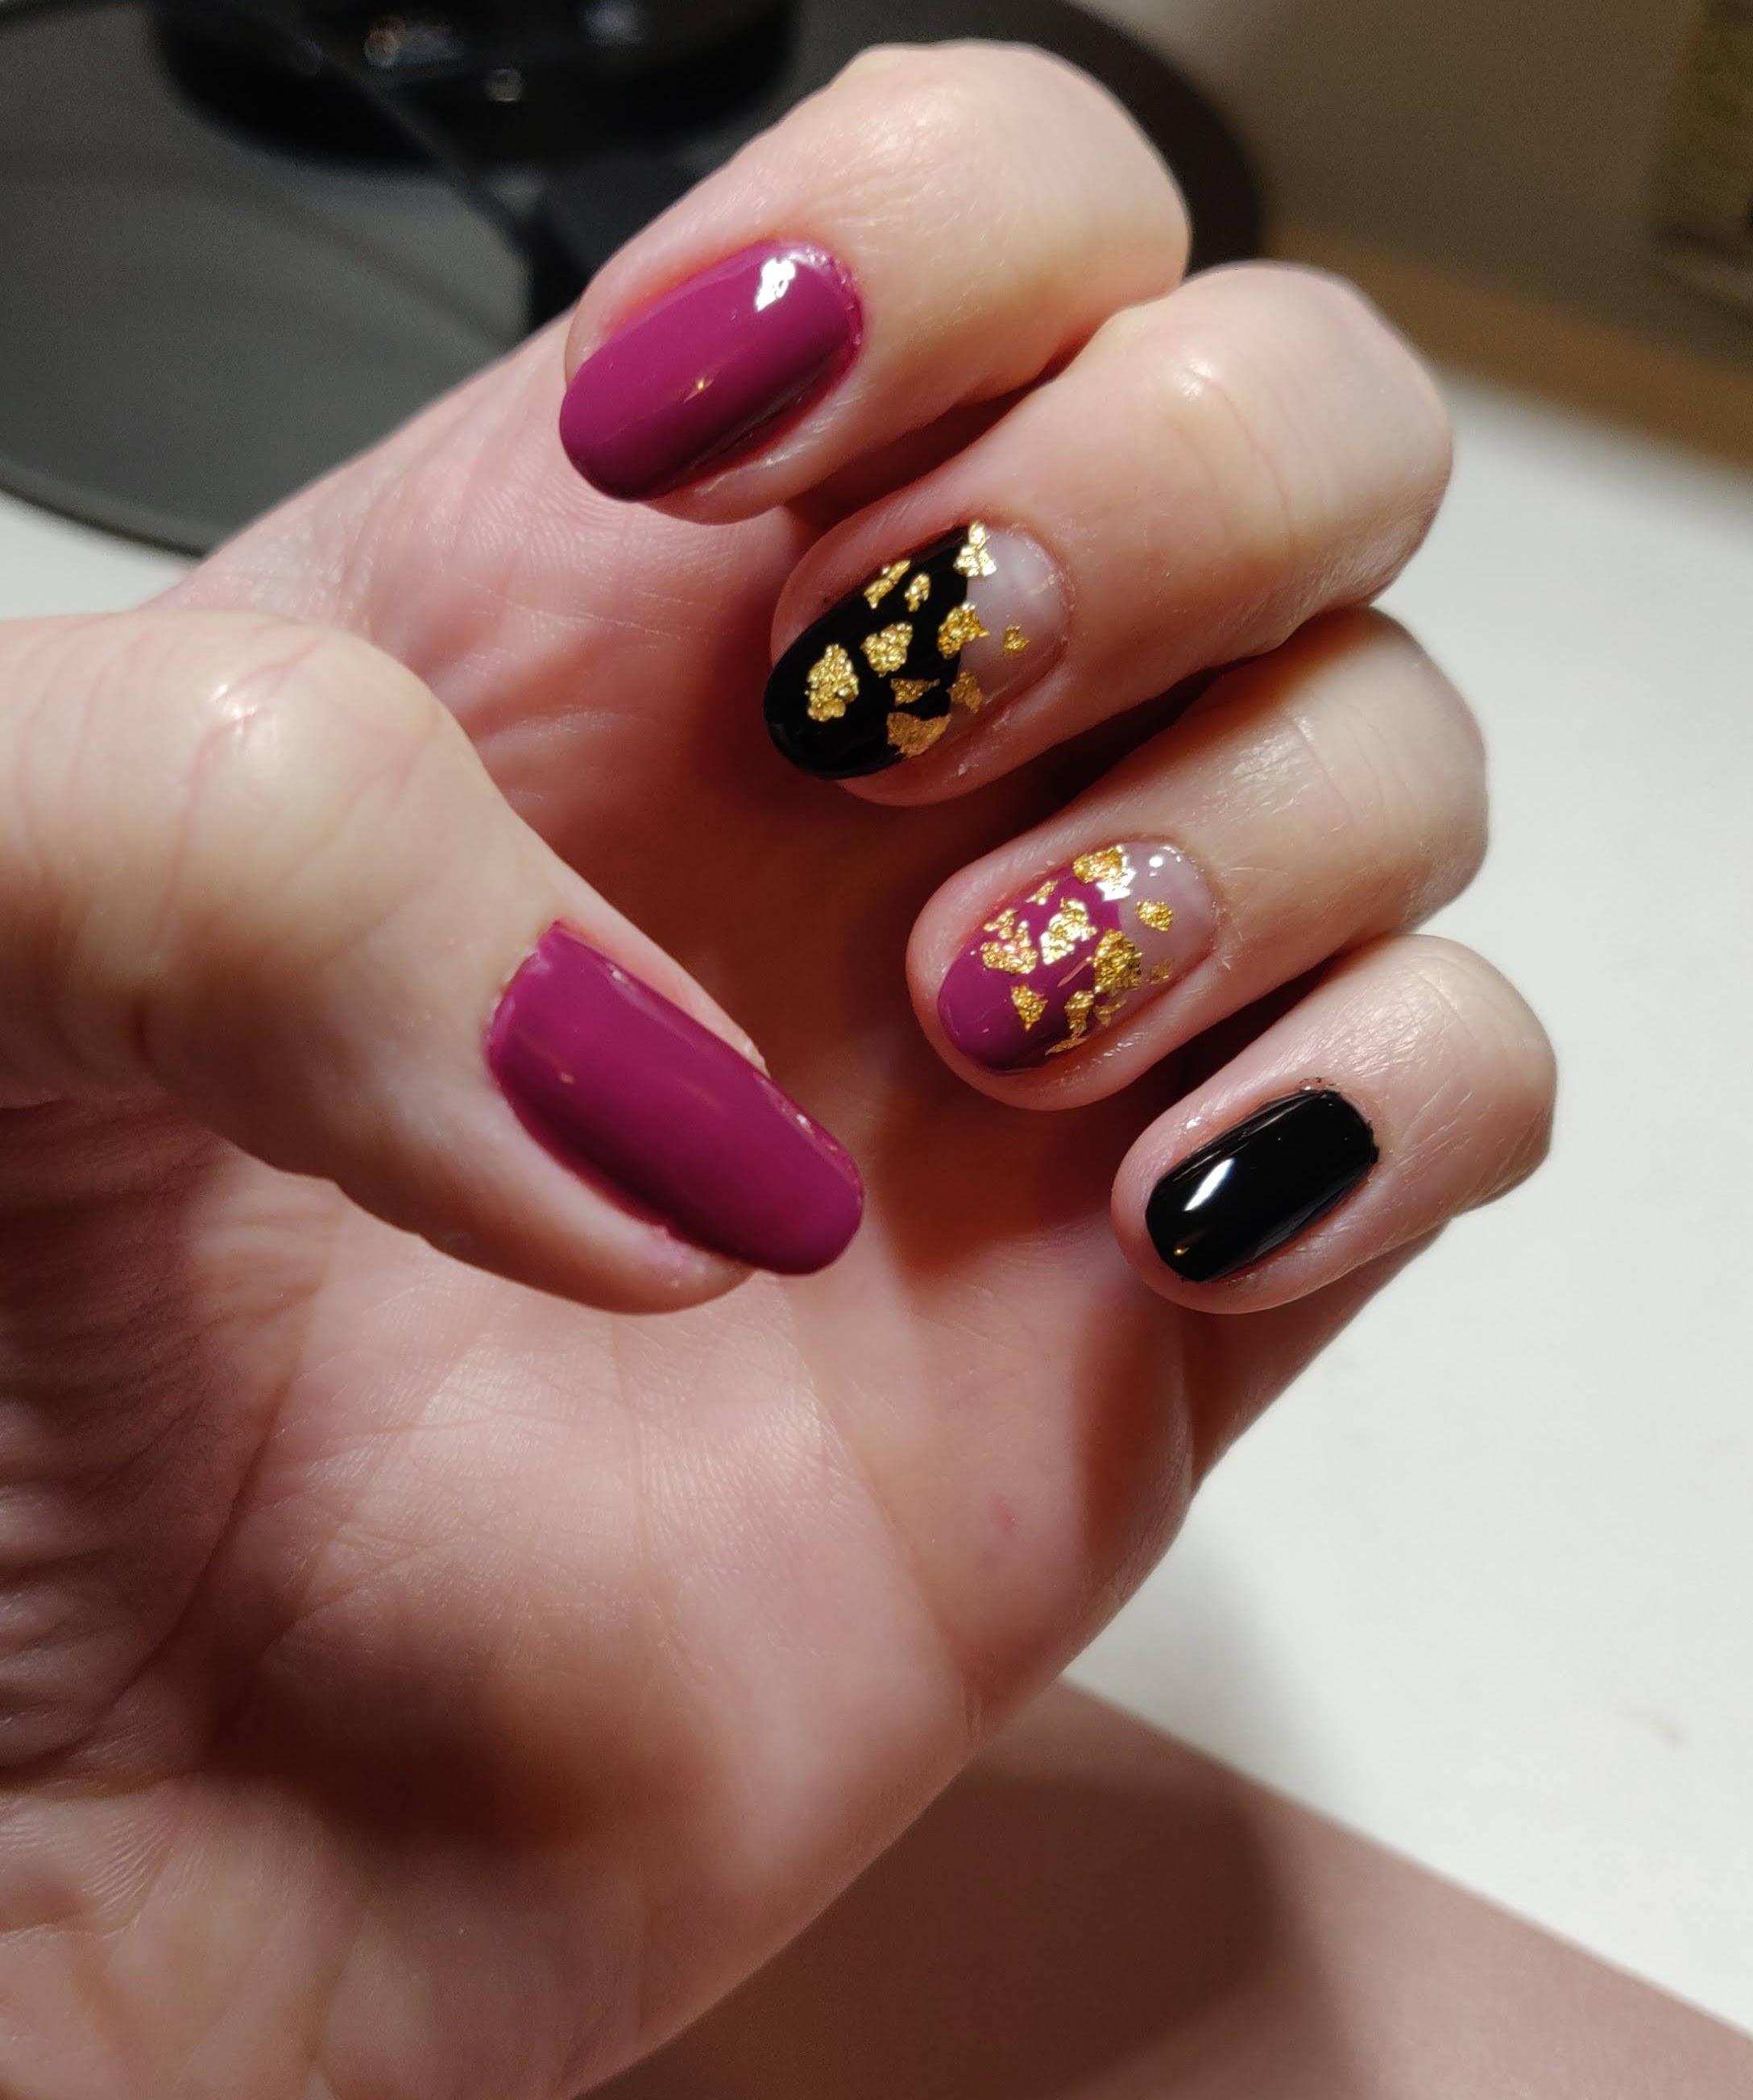
Finally… gold flakes for the New Year! ⭐️
Thanks for taking this journey in nail art with me! 🥳
It was really fun for me to share some of my favourite nails throughout the year. My sets last between 10 and 14 days so I did many more sets than those I’ve shared with you here. 🙈
My current set is a festive gold flakes set to welcome 2022! 🍾
Parting words
I’ve learned a lot about this awesome new hobby this year. I’m always happy to exchange tips and tricks with anyone who wants to take it up, so don’t hesitate to DM me on Twitter.
A great place for nail art and ideas is r/lacqueristas, where I sometimes post my sets.
May 2022 bring you all strong nails and no chipped nail polish! ❤️ ❤️ ❤️
Comments or Burning Questions?